
Travel Planning:
How I Plan my trips
By Raistlin van Spronsen
July 14, 2026
Phase 1: Research & Logistics
The first phase is the research and logistics phase, which includes researching destinations, setting dates and duration of your trips, drafting a rough budget, and checking entry requirements for international destinations
Step 1: Choose a Destination
Selecting a destination can be tricky, my recomendation is when you are researching places you want to visit, what is within your budget and what makes you the most excited to visit. Use resources such as Google Flights, Expedia to research flights to determine if you can actually have a great trip within your budget
Step 2: Set Dates & Duration
Determine when your ideal travel window is. Check with your employer of when you’ll be permitted to take time off (is there any blackout periods), check your chosen destination for optimal weather, holidays, events or festivals.
Step 3: Draft a budget
Estimate costs for flights, accomodations, transportation, food, and any activities. You can do this on an app or a spreadsheet, I prefer spreadsheet as you can get a whole travel planning document from Etsy for and affordable cost (usually around $5-10 depending on the complexity of the spreadsheet) and it can be your go-to travel planning document for everything related to your trip
Step 4: Check Entry Requirements
Ensure your passport has a minimum of 6 months left of your RETURN DATE most countries will refuse entry if this requirement isn’t met. If you don’t have a valid passport this is the time to either renew your expired one or apply for a new passport.
It’s also recommended to apply for any visas, and we’re not talking credit cards. A visa is an official endorsement or document granted by a country’s government. It grants a foreign national conditional permission to enter, remain within, or leave its borders for a specific purpose (such as tourism, work, or study) and a set period of time
Having this document in place will speed up time when you are clearing customs at your final destination. When researching whether or not you need a visa, or electronic travel authorization be sure to check the customs and immigration website for the particular country you are visiting, alternatively depending on your country of origin, they may have a whole webpage dedicated to travel abroad along with any travel advisories as set forth by Foreign Affairs
Phase 2: Booking
Booking is the time you book your flights, accommodations, and secure your travel insurance. This process has many tools making it easy to find the best deal for your trip.
Step 1: Book your flights
Using tools such as Expedia, Kayak, and Google Flights will allow you to find the best deals. I use these tools regularly when researching costs for my flights, however I book directly with the airline when I book the flights.
Also make sure the name on your reservation MATCHES your government issued ID or passport to prevent any issues at the airport
Step 2: Secure Accommodations
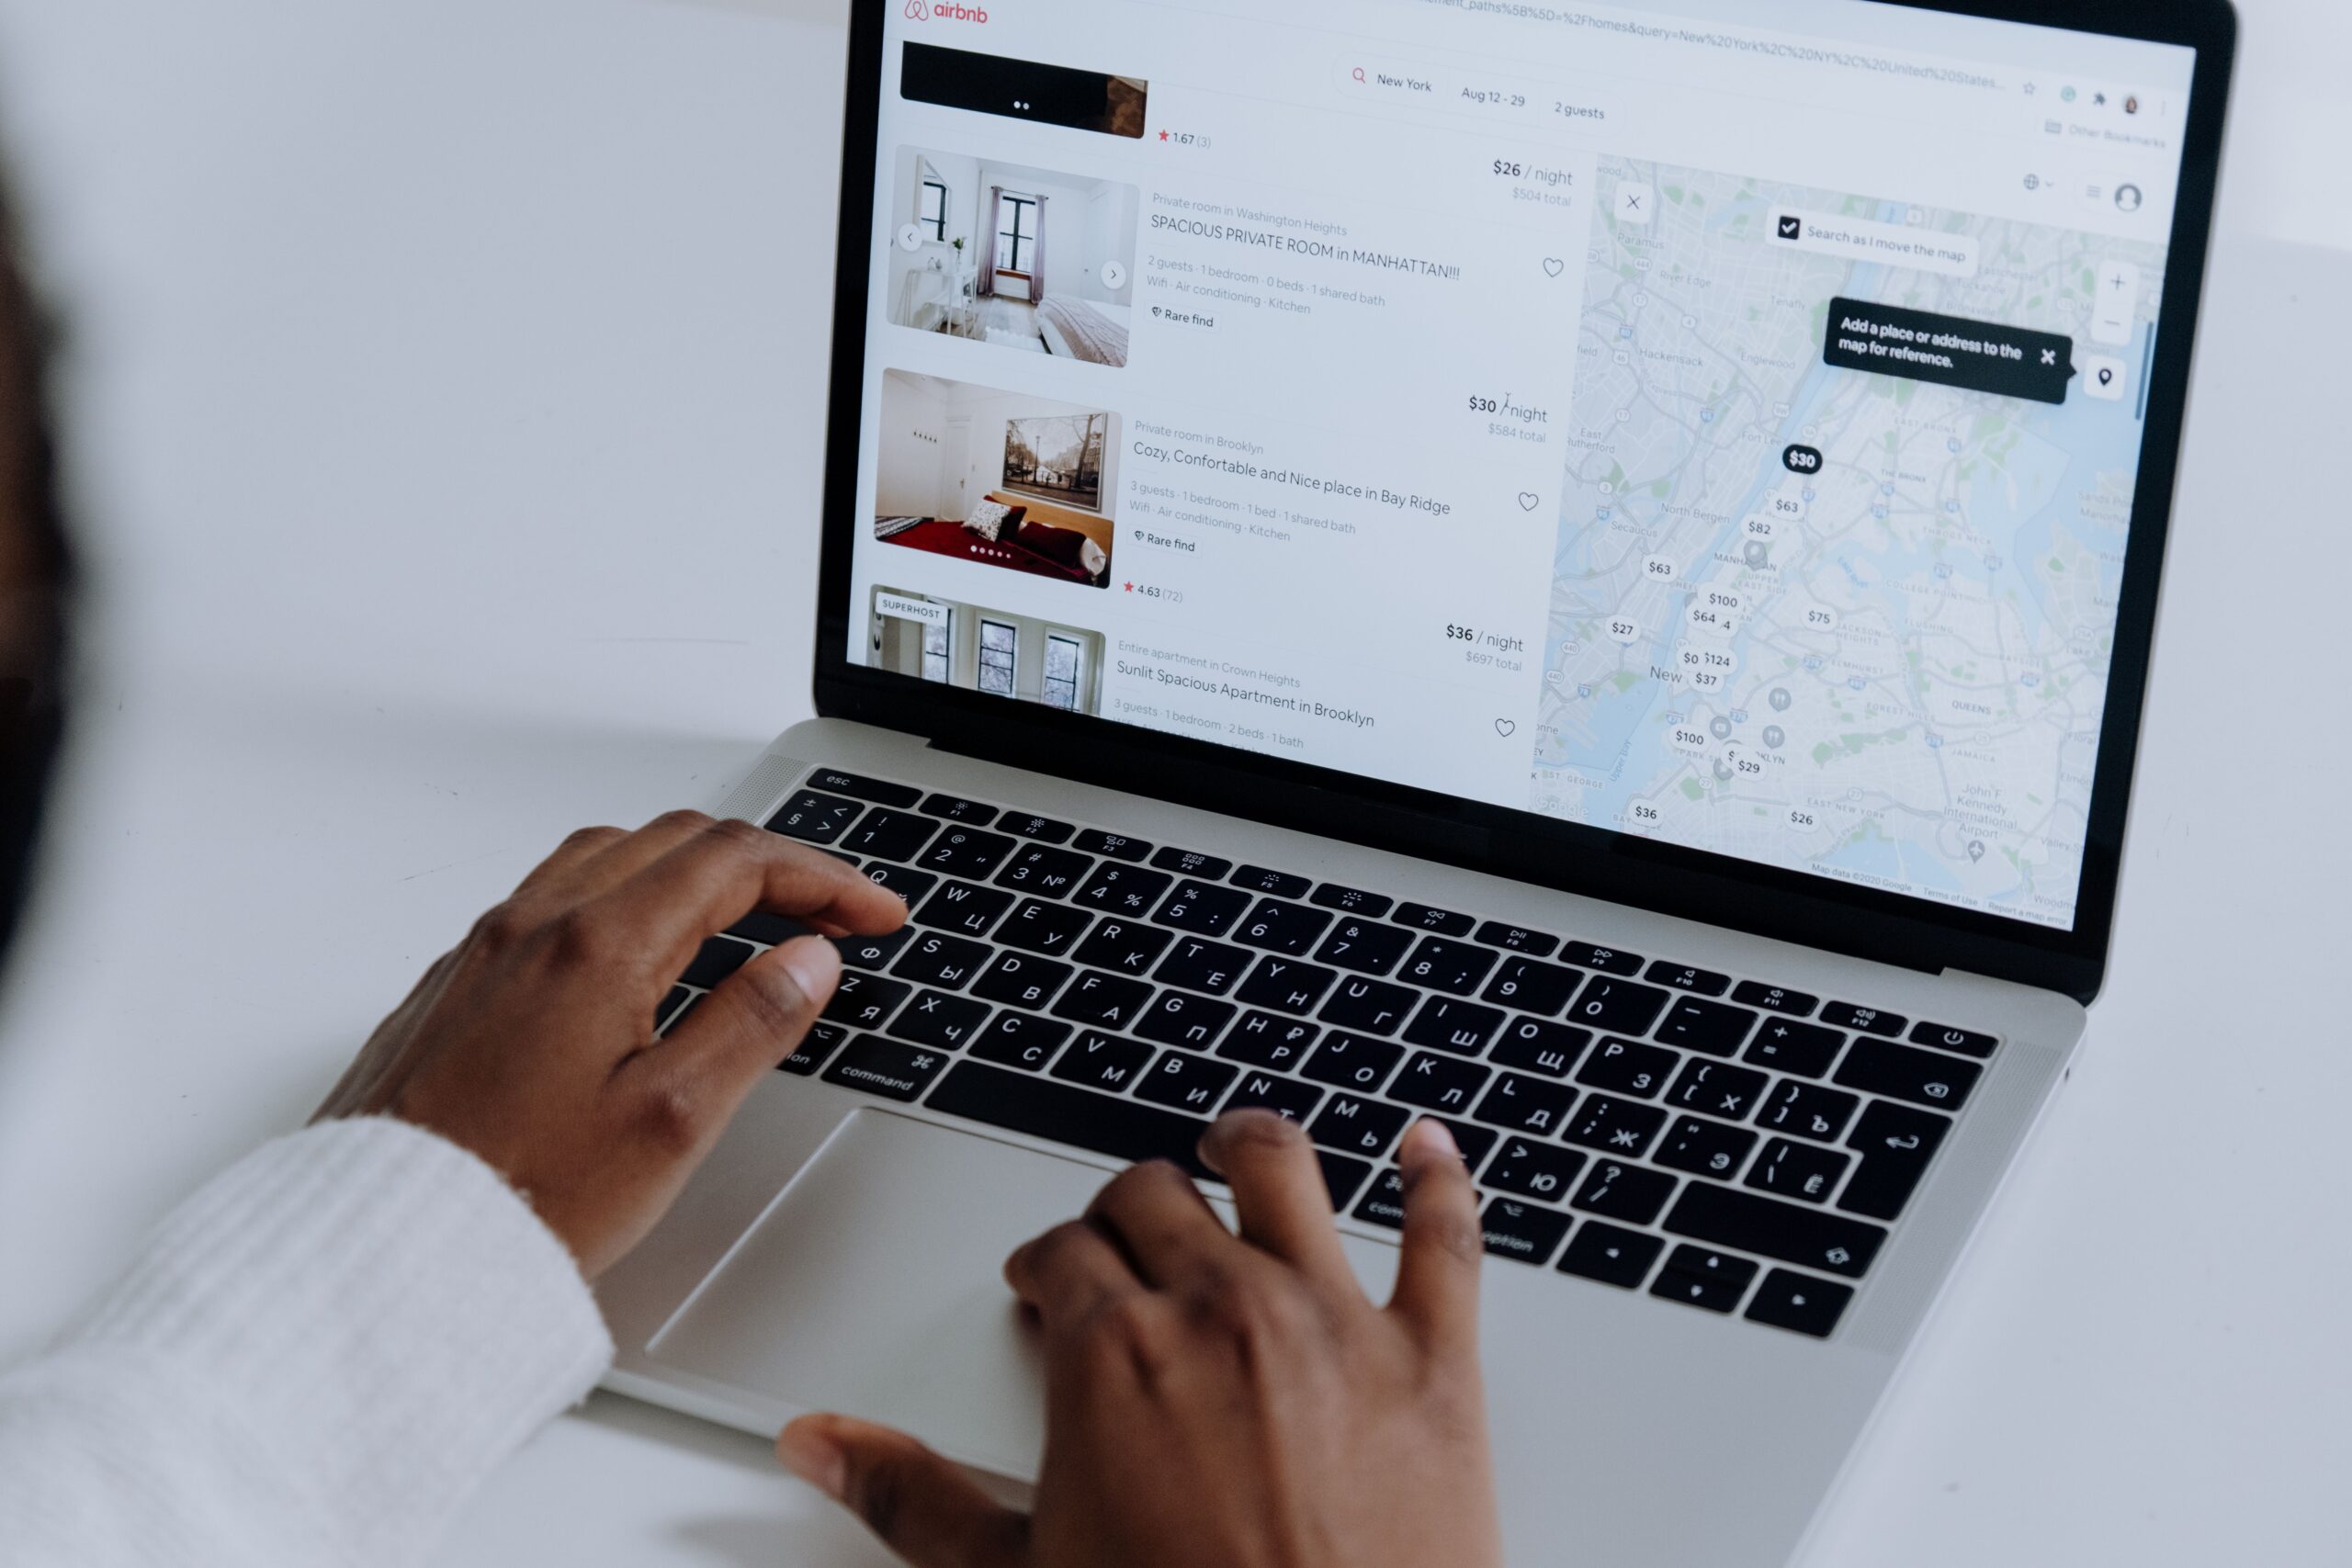
Using tools such as Expedia, Booking.com, Trivago to compare hotel prices. While booking via 3rd party can be easy as well, I also recommend giving the hotel a call (not the reservation center but the direct property) as they may be able to offer an even better deal. I was once booking a hotel online saying it was $135/night and when I called in to book, they booked me for $99 a night
If cost isn’t a huge deal to you, book via the website or 3rd party site
Step 3: Secure Travel Insurance
You never know what is going to happen whether it’s a cancellation or sudden medical emergency. Despite having medical coverage in your home country, this doesn’t translate to an international country (for example my MSP coverage in Canada wouldn’t be accepted in the USA, I’d need additional insurance for my trip)
Travel insurance can also cover cancelled flights, hotels and much more. Be sure to read what is included in the policy before purchasing to ensure you will have enough coverage in case some thing goes wrong
Phase 3: Itinerary & Activities
Now that you’ve booked your flights and accommodations now it’s the fun part; planning what you are going to do during your trip. There are a few tools I use for this and they work well
Step 1: Map Must-Do Activities
Every city has it’s attractions and where they are located are unique to that city. This is why I use Google Maps to plan out my trips as they can also plan the route to that attraction or activity. I use Google Maps to plan, however the Google MyMaps is lacking a few crucial features so when planning my itineraries.
I use a tool called Wanderlog (it actually will alert you if an attraction is closed on the date you plan to visit the attraction; a very helpful feature when planning)
Step 2: Book Tours & Tickets
This is where another website/app I mentioned earlier comes in handy; TripAdvisor is the go-to place for booking tours, tickets and so much more. I’ve discovered many more Vancouver day-trips and tours that I plan on doing on my next trip to further explore the region I called home for nearly 11 years.. although home is now in the Dawson Creek region (BC South Peace)
Step 3: Plan around your pace
You’re on vacation after all, and you want to feel rested when you return, my biggest recommendation is to plan 2-3 activities per day (unless you have an all-day tour booked) to avoid burnout.
I always leave a minimum of 1 rest day per week (so if you are on holidays for 2 weeks, ensure there is 2 rest-days) when I plan my Vancouver trips I plan activities from Thursday to Saturday, and then Monday to Wednesday/Thursday depending on my departure day back home
Phase 4: Preparation
These are the final steps before departure; usually completed within the last month before traveling
Step 1: Prepare Finances
This is when you notify your bank of your travel dates to avoid your card not working, consider a travel-friendly debit card with no foreign transaction fees. If you’re able to; double pay bills so they are paid in advance of your trip
Step 2: Download Offline Maps
Download offline areas of Google Maps, and make sure you have translation and transit apps. This would also be a good time to purchase and eSIM for the region you are traveling to (simply activate the eSIM on your phone on arrival and still be able to talk and text as if you were back home)
Step 3: Packing
Depending on your airfare and destination, you’ll want to limit the amount of luggage you plan on bringing on your trip abroad. For most trips I bring a full-sized suitcase and a backpack. My full sized suitcase goes under the aircraft and stays at my hotel or place of accommodation, whereas my backpack will be my day-to-day backpack for all my adventures
Step 4: Prepare your home
Depending on your living situation, you’ll want to notify specific people of your absence. If you are renting, make sure to let your landlord (or property management company) of your trip and provide a method of contact so they can contact you if needed.
Prepare your home for your departure, unplug all unnecessary equipment, close and latch all windows and curtains. If you have pets or plants, have someone either stay in your home or have a key to check on your animals and water your plants. On the last day if it is extremely warm, have them reconnect and start up your AC so your home is at a comfortable temperature on your return
Phase 5: Travel & Arrival
This is the final step between you and your destination… now it’s travel time to your destination
Step 1: Home to Airport/Point of Departure
The final step is to arrange for a ride/or drive to the airport or point of departure (if traveling via bus or train; most people will fly so the airport is the most common travel point of departure) to catch your flight. Be sure to check with your airline of check-in cut-off/bag drop. Ensure to check-in online 24 hours before the flight to make sure you are set
Step 2: Travel Process
Depending on your departure airport you may still need to check-in at the check-in counter to drop off your checked luggage, once that is complete you’ll head to the checked luggage screening where they will scan your checked luggage before it’s loaded onto the plane. Once that is complete, you’ll go through security screening (carry on luggage is scanned and you’ll pass through a metal detector)
Once through security (this varies by airport layout and design) you’ll find your gate or a seat in the holding room (my local airport often boards 3 flights through the one gate; spread out so no one is confused). Once your flight is called you’ll show your boarding pass and ID and then head through the gate or out onto the ramp and board your flight. Enjoy your flight, and be nice to the the cabin crew!
Step 3: Clearing Customs
While some people reading this will be traveling on domestic trips, most of you will be traveling on international flights.
Depending on your destination, clearing customs may begin before your flight by filing and online form known as an electronic travel authorization (there are several names for it) It will ask for personal information, passport details, travel dates and entry specific questions. There is often a small monetary fee. This can be filed at the time of booking as they are often valid for a period of 3-5 years.
Once you arrive in the country make sure you have all your documents, visa (if required), passport and completed declaration cards (they often hand them out on the plane about 1 hour from landing, these cards ask if you have any food products, gifts or excess cash over $10,000 in local currency; funds in your bank account don’t apply towards this cash amount
Once you clear customs, you can then collect your luggage and exit the Customs Area into the International Arrivals part of the airport
Step 4: Ground Transportation
After leaving the Customs area then you can head to the exit and the Ground Transportation area, here you’ll find taxis, rideshare (Uber, Lyft or any local rideshare services they have) public transportation and hotel shuttles. If you’ve pre-arranged your transportation find where you’ve planned to meet, or public transit is often your best bet. If there is a subway/LRT there may be a different part of the terminal (check this before leaving home)
Step 5: Enjoy your trip
You’ve worked hard to plan this experience, so it’s now time to enjoy it. Take the first evening to soak it in and explore the area around your hotel/accommodation.
Don’t forget to capture stories for your social media channels. I always share different aspects of the the travel day. I usually share from just before leaving and arriving at my final destinations so my friends can follow along. If you do photography, don’t be afraid to bring your nice camera along for the journey (I usually bring a couple different lenses so I can capture many different types of photos), when looking up activities, try to find at least 1 photography day-trip as well so you can spend time capturing the area as well.
I certainly hope this guide has helped you plan your next trips using a process I’ve refined over the years. I am not a certified travel agent, just a guy who loves to travel and researching different places, if you need any assistance in planning your next trip reach out to your local travel agent